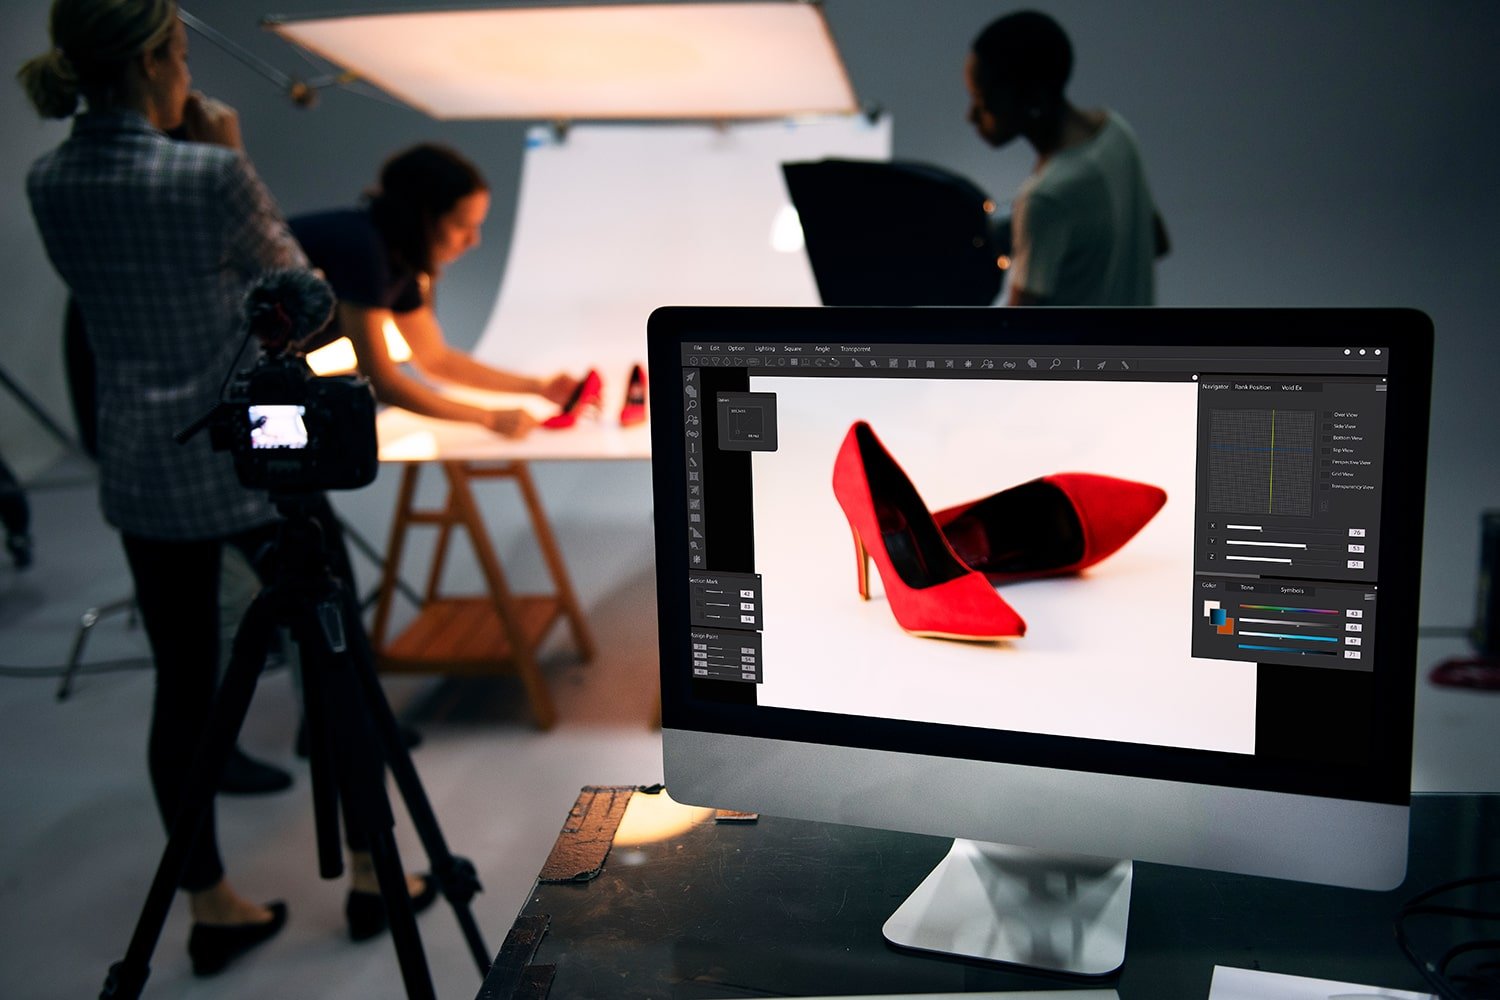
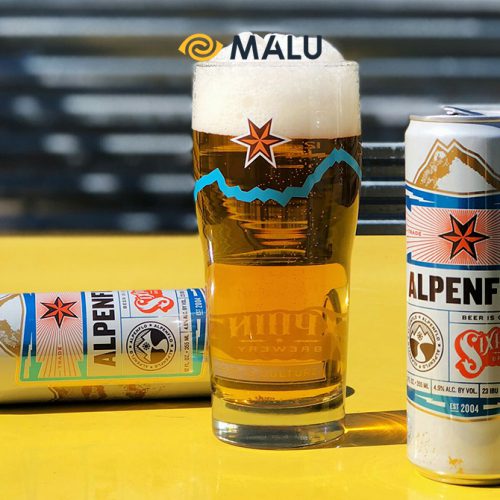
“Better wood is better than paint”, is this still true in advertising product photography on online business platforms? Reality has proven that: Visual images are an extremely important aspect for customers to evaluate the value of a product.
However, not all of us can afford to hire a great studio to take product photos for us to upload to online platforms.
The following article by Malu will be the most complete guide for you to get professional product photos that can enhance your brand image in the eyes of customers.
First, you need to prepare yourself the required equipment in a product photo shoot:
6 essential product photography devices
For those who are approaching photography for the first time, finding additional tools for photography is not an easy thing, especially when there are so many choices on the market.
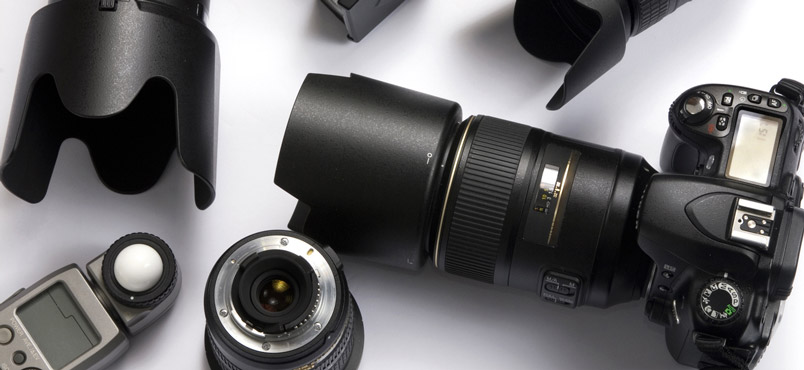
The first advice we give you is: If the budget is not much, you do not need to worry too much. What you need to do here is take advantage of what you have at hand, learn the necessary tools carefully and do not spend more than the budget in the plan you have set out.
However, there are tools that you absolutely must have on hand during a product shoot and these are:
1. Camera/phone:
Do not be foolish to spend tens of millions of dong to buy cameras for professionals. Having tools is one thing, but you probably already know how to use them proficiently. First of all, try to make use of the camera you have in hand.
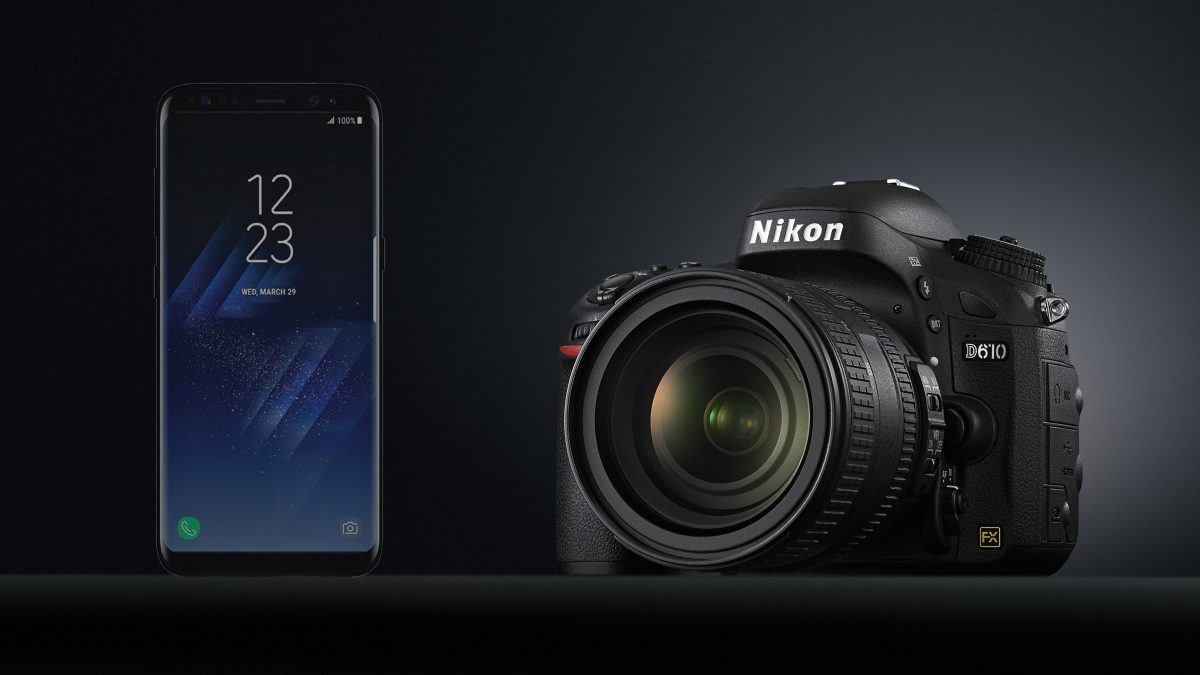
Then, you take a few test photos and comment on the artwork you just made. Maybe, you will be surprised by what you have in hand. After all, a successful photo shoot requires the contribution of more than one camera.
2. Tripod:
The tripod is the tool that helps keep your camera steady during the shoot. A professional photo will have to minimize vibration and blurring factors.
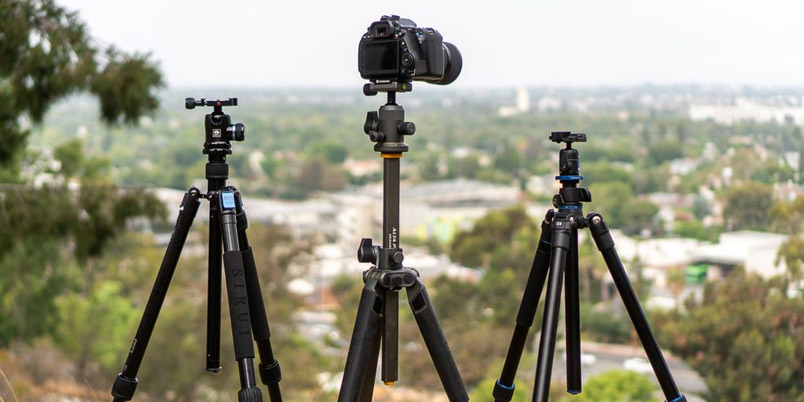
You can absolutely find the right equipment for your camera at photography supply stores.
3. Backdrop:
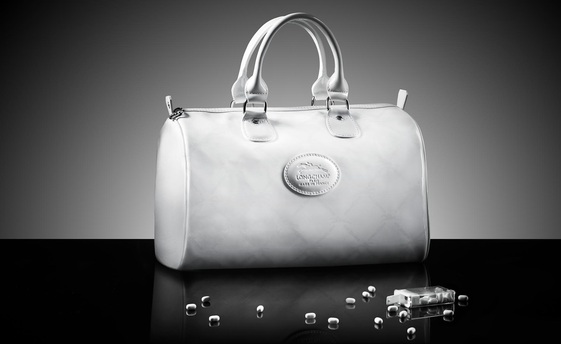
Many studies have shown that white backgrounds help your products become more prominent and beautiful.
There are many ways to create white fonts such as: Take advantage of A3 white paper rolls, buy fonts at physical stores, search on Shopee, Lazada, etc.
4. Reflector:
In photography, people call this tool the bounce plate. This plate is responsible for coordinating the light to cast shadows on the object you want to photograph.
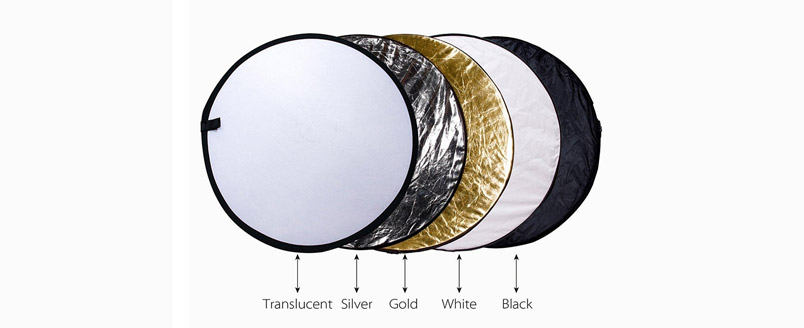
This is also a necessary item to create depth and highlight for the product when on the picture.
5. Table:
A white table with a moderate area, in the range of 60 – 65 cm2 is enough for you to have a fulcrum for your product.
6. Photo booth:
The ideal photo booth should be one with a window facing the wall. This helps you to capture enough natural light to make the picture look realistic. If there is a lack of light, you are required to buy additional artificial lighting tools to supplement the image.
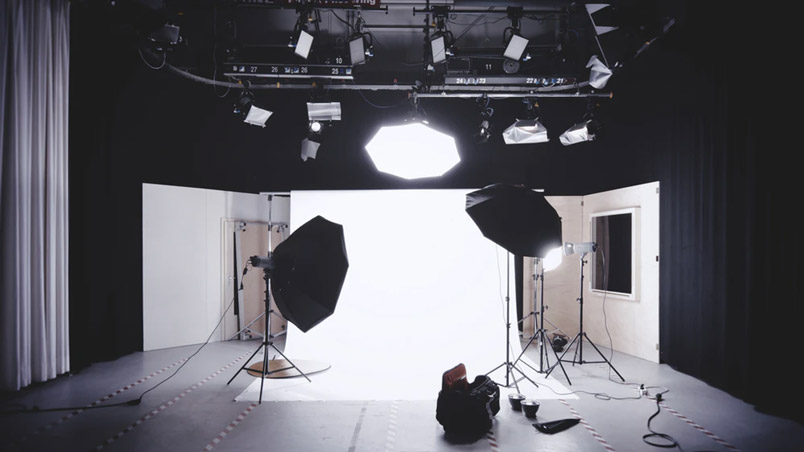
But you should also remember: Lots of light is not a good thing either. In this case, the image will be blown out and there will be a “burn out” phenomenon.
Steps to take pictures of advertising products
After you have prepared all the necessary equipment, it’s time to start taking product photos. Here are detailed instructions for you:
Step 1: Set up the shooting scene
Let’s start with the location of the camera. Ideally, your camera should be at a 90-degree angle to the window where the light source is. The closer the camera is to the window, the stronger the light emitted in the frame and vice versa.
If the natural light in the room is sufficient, you should turn off all artificial lighting devices. Unnatural light can affect your photos. If lacking, you should consider buying specialized creative equipment.
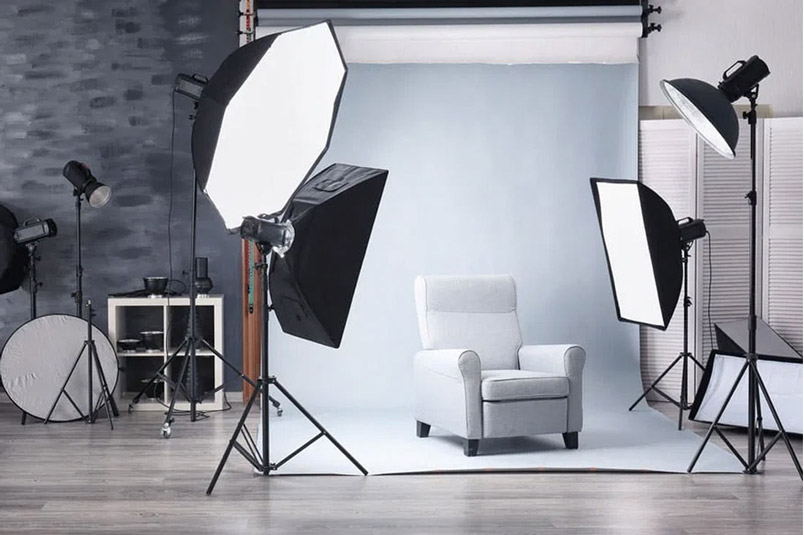
The background of the image should be angled 45 degrees (or other offsets depending on how much shading you want) to create depth for the subject in the image.
You should also pay attention to one point: Do not place the camera directly in the direction of direct light. Light levels that are too bright can cause your photos to “burn out”.
Step 2: Setup background
The canvas is oriented along the subject. A smart way to do this is to place the background against the wall. The wall helps both the canvas and the photographic object to be fixed and has a solid fulcrum.
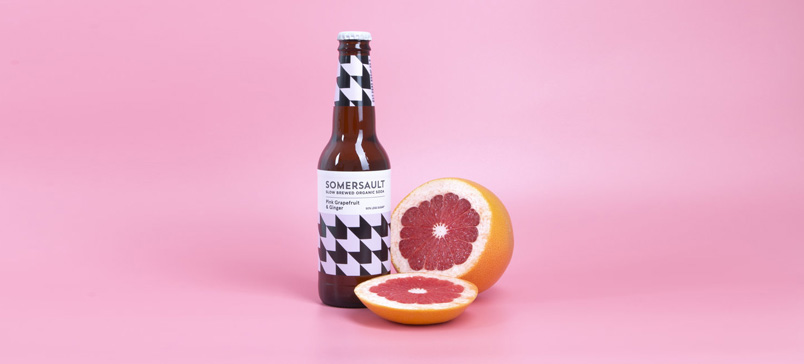
You can refer to the layout of the shooting object and the background according to the example below.
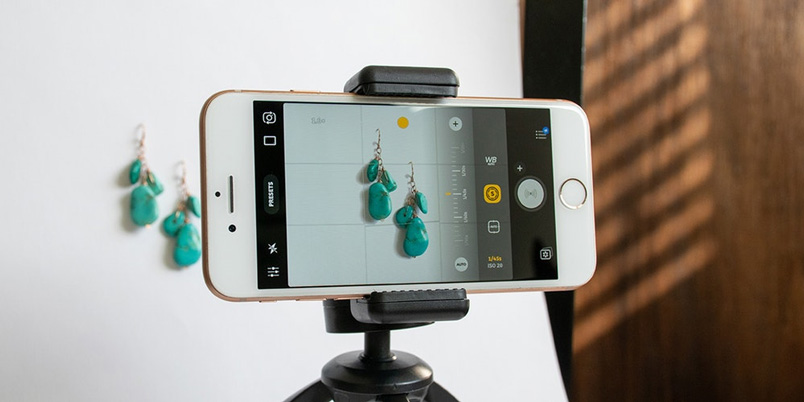
Step 3: Setup the camera
To take a good photo, you need a little help from your “camera” friend. Here are a few tips for you:
– Switch the camera mode from WB (white balance) to AWB (auto white balance).
– Turn off the flash.
– Set in-camera photos to the highest mode (in this case, RAW mode). Some cameras do not have RAW mode, you can customize the highest quality for the camera (Superfine) and large image size (Large).
– Set the sensitivity (ISO) to 100. The higher the sensitivity, the more noise the image will have. Usually, the lowest image sensitivity in commercial camera equipment is 100. This is also the number you should set.
– About customizing exposure, you should set this mode to automatic. While setting exposure manually is ideal, it’s not an easy task for a novice like you.
– About zoom mode: You should not use this mode in digital cameras. Image quality will be noticeably degraded if you use zoom mode. Instead of zooming in, you can get closer to the subject, the quality is preserved while ensuring every detail is captured.
Step 4: Align the product placement
It seems that this is quite difficult for those of us who do not have much knowledge about photography, but you should also grasp a few basic principles such as: Place the brand logo on the product in a prominent position On the camera, place the object to be photographed according to the ⅓ rule, according to the golden ratio, etc.

In addition, you should arrange the bounce plate so that the shadow of the object on the background behind achieves a certain depth.
>>> See more articles 10 Composition techniques that will improve your images
Step 5: Take a picture and judge for yourself
Once the picture has been taken, you should take some time to evaluate the results you have created. This is where your accumulated experience comes into play: What’s OK and what needs improvement? Is there anything you think you could do better?
Experience is not something you can get in a day or two. When you do something for a long time, your experience will naturally improve.
Uploading photos to your computer is a good idea. Here, you can cover all aspects related to the photo you take. We recommend that you use Adobe Lightroom to calculate the desired image adjustment.
Step 6: Retouch photos, edit post-production
If you’re satisfied with the raw image, it’s time to make it more “shiny” by retouching the photo.
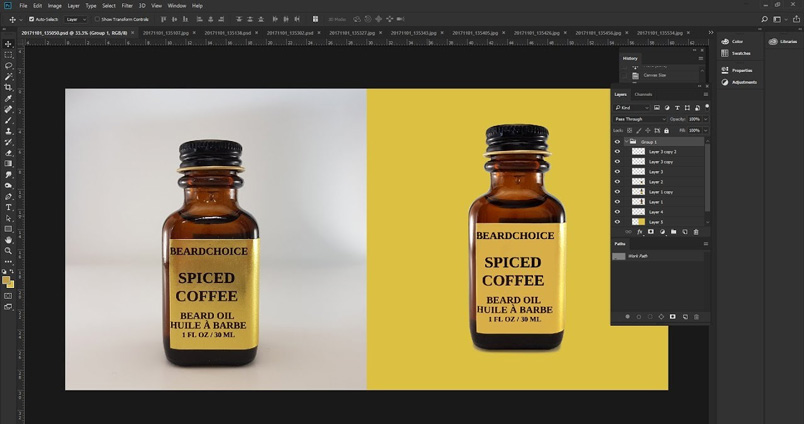
Retouch is a term in photography used to refer to the activity of retouching images with factors related to sharpness, contrast, exposure, …
Retouch requires you to have a relative knowledge of photography. You can do your own post-production edits to enhance your craft. If you don’t have enough time, you can outsource from an outside service.
Tips for taking product photos
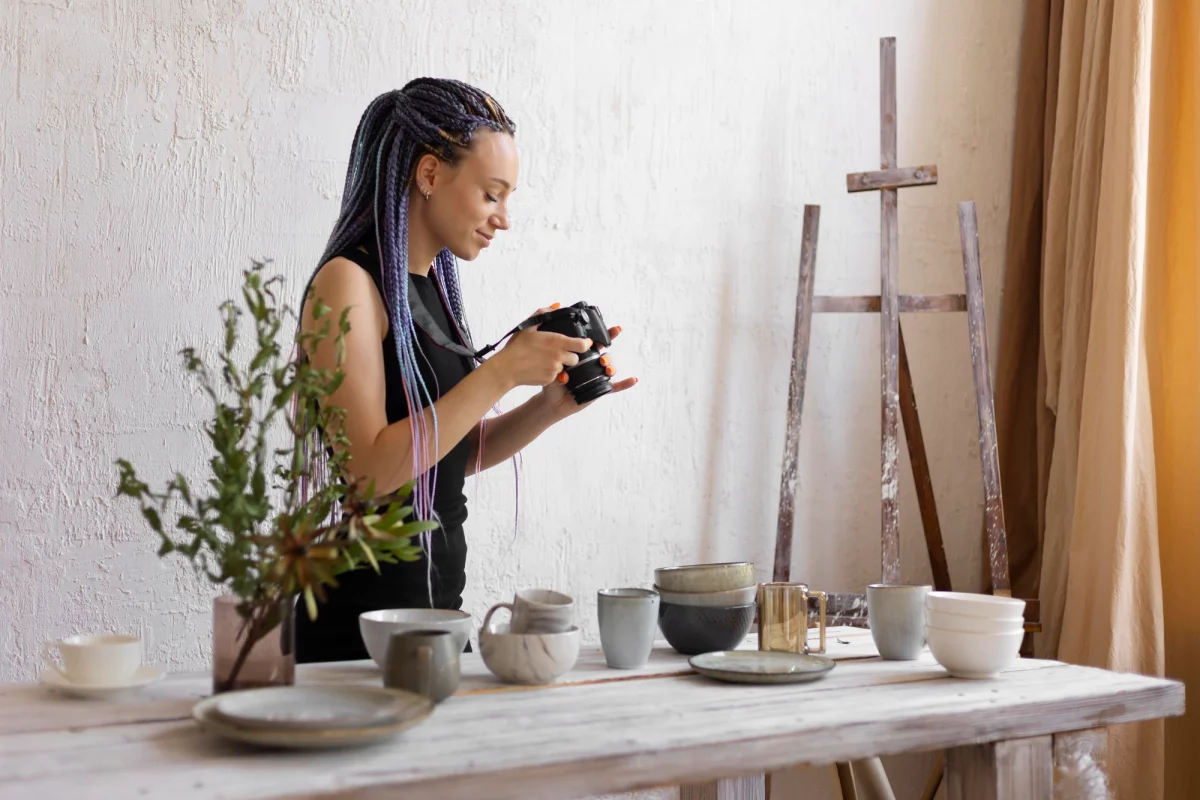
Take a look at some notes when taking product photos to help your work attract customers.
Define product photography style
There are many different styles of photography, the styles are divided by: shooting environment, shooting method, shooting angle, color used, photo content…
But you need to determine what your desired style is. In other words, need to know who your customers are? And what kind of pictures do they want to see? From there, embark on composing photos with such style.
Choose and arrange lighting when taking product photos
Choose light
In photography, light is divided into two types: natural light and artificial light. Natural light is understood as: Sunlight. Artificial light is: Man-made from light-emitting devices… such as light bulbs.
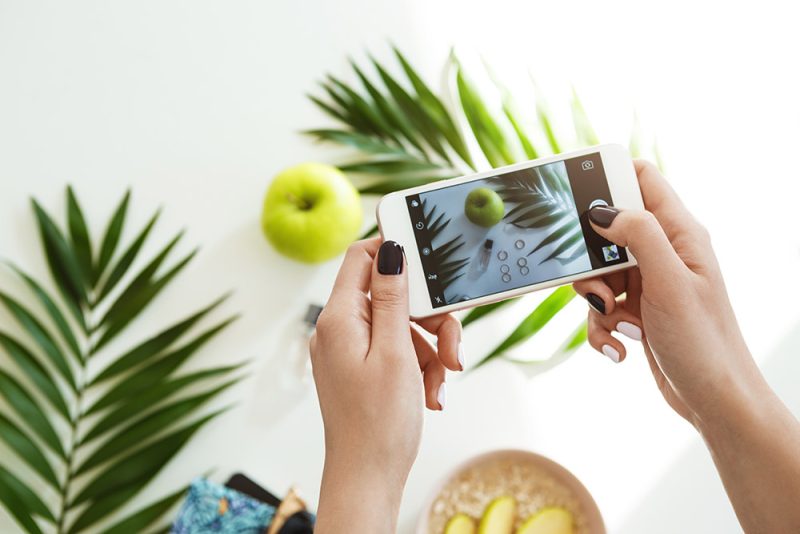
Sunlight is a wonderful thing
We humans always see things under the sunlight. So things illuminated by sunlight will have more “realistic” colors. Although it may not be the color of the object.
The right time to take product photos with sunlight
If you use sunlight for product photography. Should choose time frame:
+ In the morning from 8 am to 10 am- In the summer it can be earlier. Because the light at this time is very clear and soft. Not as red as when the sun is up and not as harsh as at noon.
+ If you can’t shoot in the morning, you can shoot in the afternoon from 3am to 4pm, and not later. Because when the sun is about to set, the sunlight is also much redder. If you deliberately use that light, your product may not be standard when it comes to color.
How to shoot products in sunlight in a less than ideal time frame
+ If you have to shoot at noon, when the sun shines brightly. You should choose shady areas or have objects that block light to take photos.
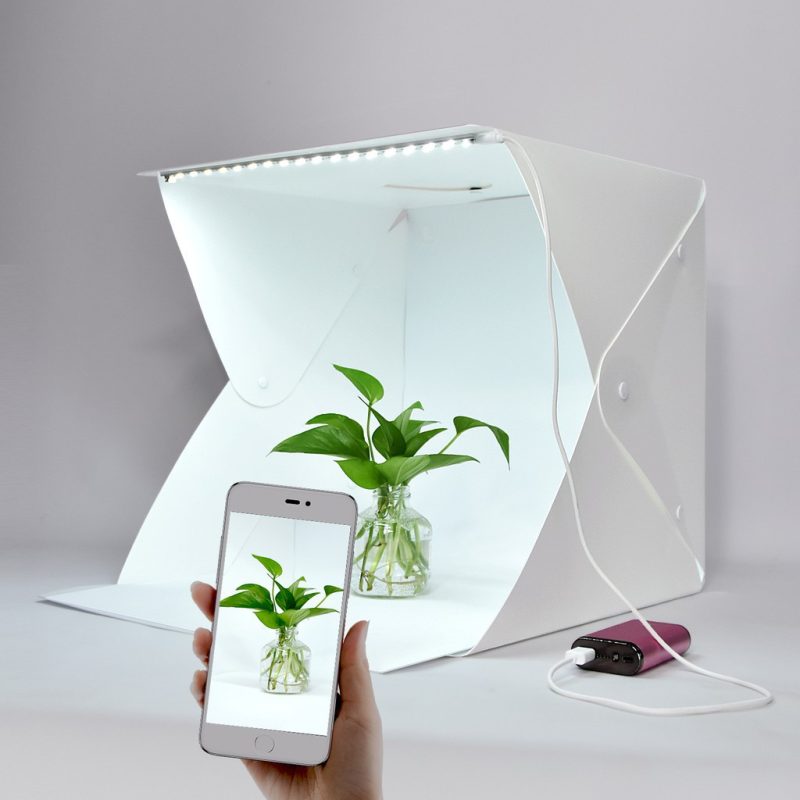
+ You can buy a cloth photography box. And taking it out in the sun is also very good.
+ Then the sunlight will be softened by the white fabric of the shooting box. And create a softer, more evenly distributed light on the inside of the shooting box.
Artificial light
You will need to invest a small amount of money to buy some lighting equipment. And some widgets to handle the light.
Lighting devices
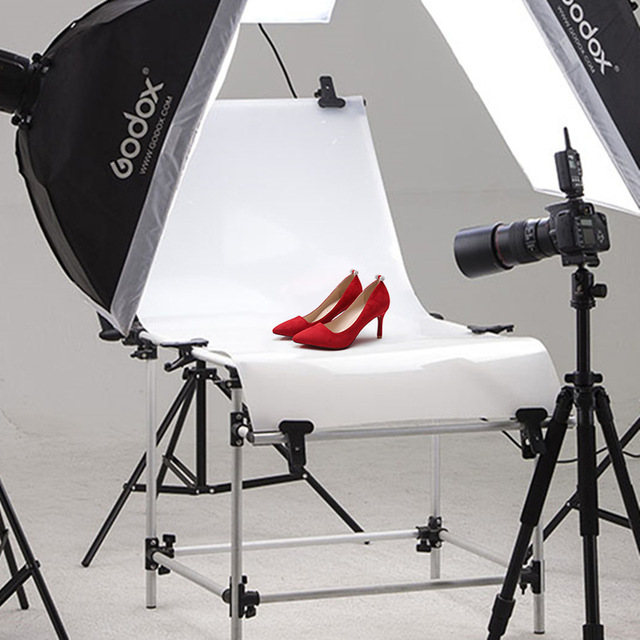
+ Depending on the object that you photographed large or small. You will have to buy lights with the right capacity, or buy many lights. But there should be 3 or more light sources to be able to eliminate all the shadows of the object.
+ You should choose lamps: Compact or LED. Has a color temperature of 5500K- This color temperature is equivalent to sunlight. And the power of the lamp also depends on the type of lamp you choose. If you buy a Compact lamp, the minimum power of 50W or more will be enough for bright images to take product photos .
Lighting arrangement
Depending on the product and the lighting effect you want to use. There will be different lighting arrangements. A few common lighting setup methods that people often use.
Light setup with small shooting area
+ We use at least 3 light sources to be able to eliminate all the shadows of the product.
+ If you don’t have many lights, you can use reflectors. To reflect light into the product; Balance the light when shooting.
Background for product photography
+ If you take photos of Street Style products . Just need a lens with a large aperture to capture the background.
+ And when you take photos of small products or take pictures in the room. We’ll need a background.
Choose the background
+ The backdrop can be anything available such as: Floor, stairs, wooden floor, drinking table, a carpet, an A0 sheet of paper… + Depends on how you want to present
your product Whichever chooses the appropriate background.
Optimizing photos taken on website platforms
Not only is your image visually beautiful, it must also meet other SEO requirements on the online platform. It can be a matter of image file size, file size, etc. Here are a few guidelines for you:
1. Resize image file
The best way to optimize photos taken on a website platform is to resize the image file. If your website is only capable of displaying images that are 600 pixels wide and your original image is up to 1500 pixels in size, you should make immediate adjustments.
First, you need to define what the standard display width of images on your website is. The way to do it is very simple, you just need to right-click on the image on the website, select Check (or the shortcut Ctrl + Shift + I) and you will get the standard parameters of the image file size.
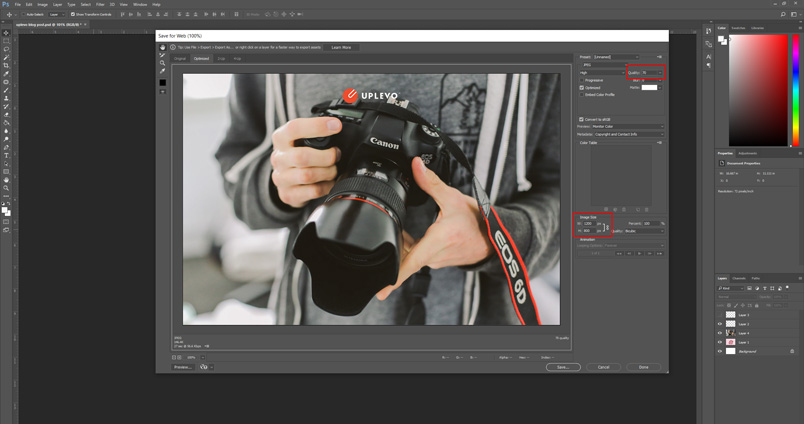
Then you perform resizing according to the available standards. There are many tools that can help you resize images. You can use custom Ctrl + Alt + Shift + S in Photoshop, or use the built-in tools of Microsoft Picture or Mac Preview.
2. Compress image size
Image size should be compressed with a file size of less than 100KB. There are many tools out there that can help you with this, one of which is JPEGmini.com.
Regarding the image file format, you can use file extensions such as JPG, JPEG or PNG.
Some notes on product photography skills
You should use natural light instead of artificial light. Natural light always gives viewers a more comfortable and “real” feeling than electrically aligned lights. In addition, the cost to pay for artificial lighting equipment can be comparable to the cost of hiring a professional to take pictures from outside (but the quality of the finished product is more certain).
When taking pictures with natural light, you will most likely encounter a few problems such as: The window is reflected on the product like the example below, which takes a lot of time for post-processing.
Taking pictures by yourself and doing post-production photo editing can be confusing and time consuming. Hopefully our above sharing will help you to understand more about this job, so that your business activities will also be more optimized.
Good luck!

