Behance is known for being a platform built specifically for designers. This is the place where you can search, learn and update the latest design trends. So what is Behance and how to use it, let’s find out with Malu Design right away.
What is Behance?
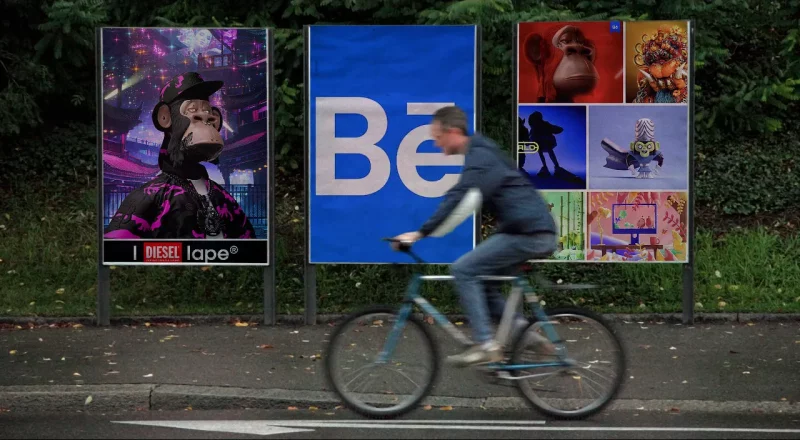
Behance is a social networking site with a large amount of interaction for designers, built, developed and sponsored by Adobe – a corporation based in New York, USA. Coming to Behance, you can not only register as a member, post your work, but also find many unique ideas from other designers around the world.
At the same time, you can also easily access the works displayed in clear categories such as graphic design, photography, motion, etc. In addition, Behance also allows you to exchange experiences through the chat section. other designers.
Instructions for registering a Behance account on a computer
To be able to successfully register for a Behance account, you first need to have an account on Adobe. Join Malu Design to see how to register below.
1. Quick Guide
- Visit the Behance website, select Sign in on the right corner of the screen.
- Article full information to register an account.
- Check the box Please contact me via to link to your email .
- Clic Create account to register for a Behance account.
2. Detailed instructions
To register for a Behance account, you can refer to the detailed instructions below:
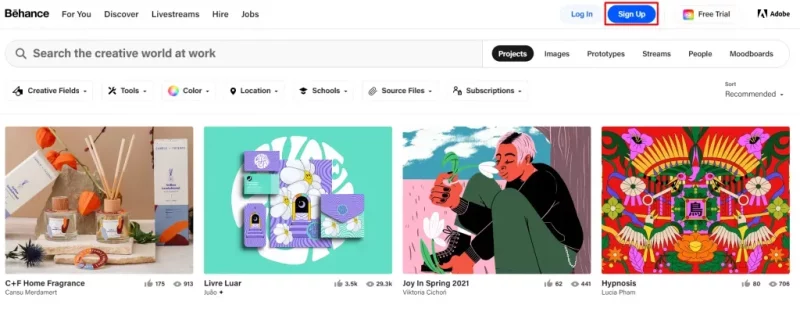
- Step 1 : Visit the Behance homepage on a web browser and click Sign in in the right corner of the screen.
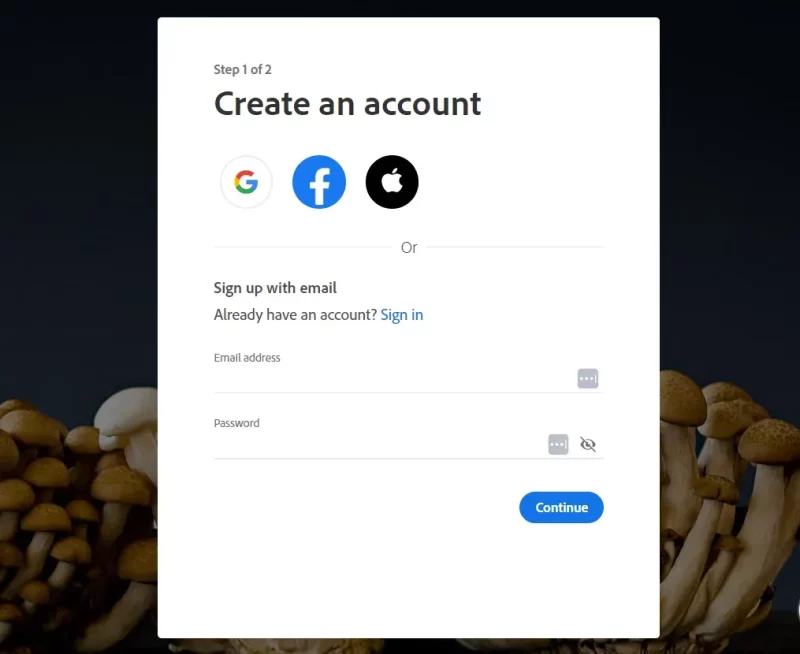
- Step 2 : Enter the necessary personal information as required to register an account. Typically, this includes the following information:
- Email address: Email address.
- First name: Name.
- Last name: Last name and middle name.
- Password: Password.
- Day of birth: Day, month, year of birth.
- Country/ Region : Country or region where you live.
- Step 3 : Click the green check box in the Please contact me via section to be able to link to your email.
- Step 4 : Finally, click Create account to complete the registration.
Simple instructions for using Behance
After successfully registering a Behance account, how to use this software? Here is a simple and easy to understand guide on how to use Behance.
Instructions for posting personal designs
Quick start Guide
- Log in to Behance and select your account icon.
- Click Create a Project .
- Select the work you want to post to Behance.
- Click Publish to finish posting the photo.
Detailed instructions
To be able to post your designs on your personal page, you can refer to the following steps:
- Step 1 : After logging in to Behance, select your account icon in the right corner of the screen.
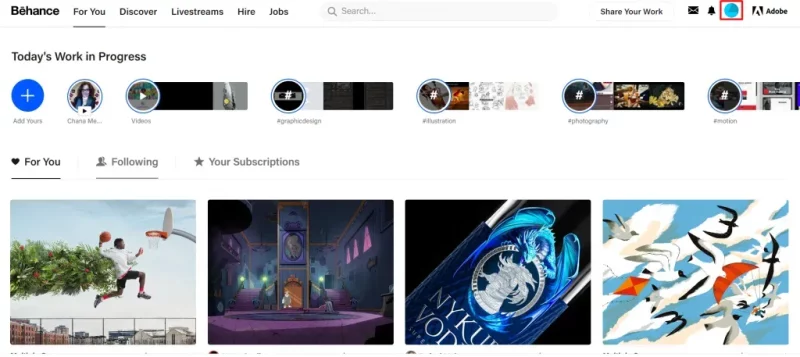
- Step 2: Continue to click the Create a Project button on the screen interface.
- Step 3: Select the work you want to post, be it a photo, video or referral link.
- Photo Grid: Allows you to load your works from other Adobe applications.
- Image : Allows you to capture or access your photo library to upload your work.
- Text : Allows you to insert text, text, and characters.
- Embed : Allows you to upload work from any other website.
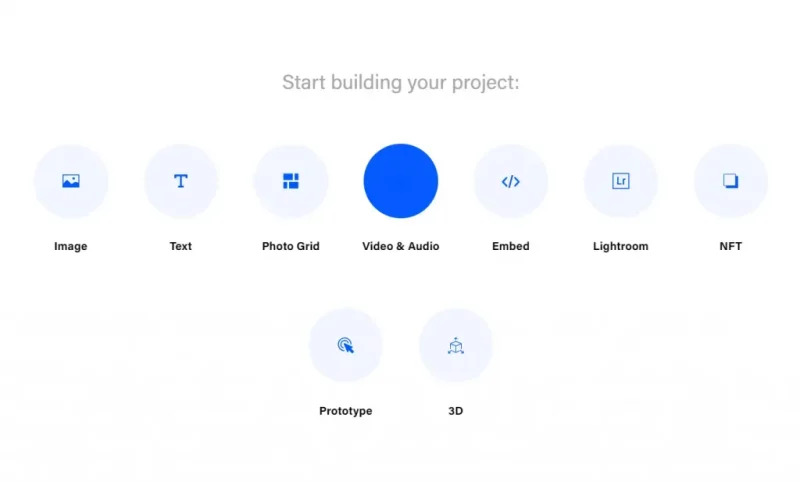
- Step 4 : Fill in some related content such as Title , Tag , Creative fields and then click the Publish button in the right corner of the screen to complete.
A guide to finding new ideas
Quick start Guide
- Log in to Behance, select the search bar on the screen.
- Search and consult works from designers and search for ideas.
- Select Save to save the idea.
- Click Create new moodboard and name the storage folder.
- Click Save in the right corner to save.
- Press the Live button with the YouTube icon to watch more videos.
Detailed instructions
If you are looking for new ideas on the Behance platform, then immediately refer to the simple steps below:
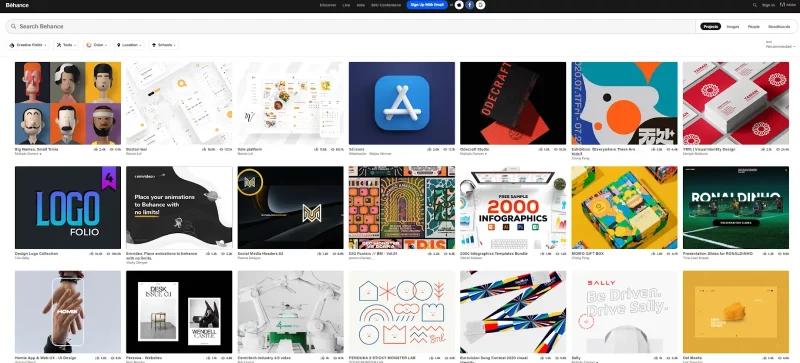
- Step 1 : After logging in to Behance, select the search bar. At this point, the toolbar will display many different categories such as projects, photography, fashion, etc. If you want to search for a topic, click on it.
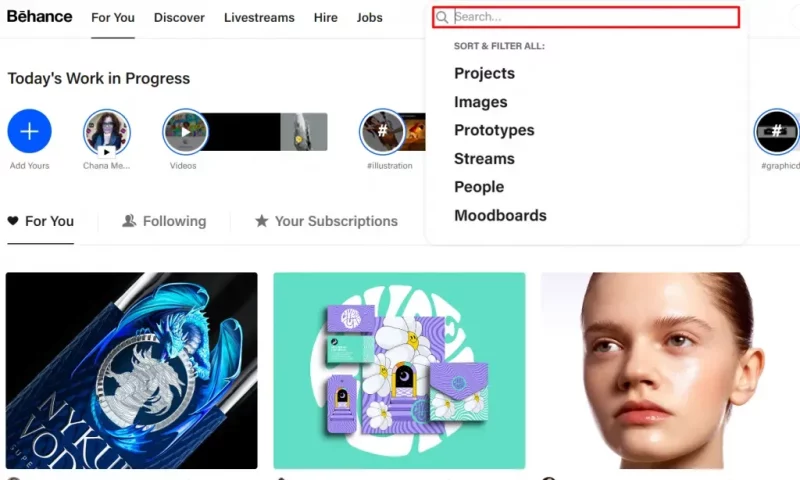
- Step 2 : Once you have found the right topic that interests you, you just need to find and refer to these works to elicit your own ideas.
- Step 3 : If after researching and learning, you have found a work you like, you can save it by selecting Save on the screen interface.
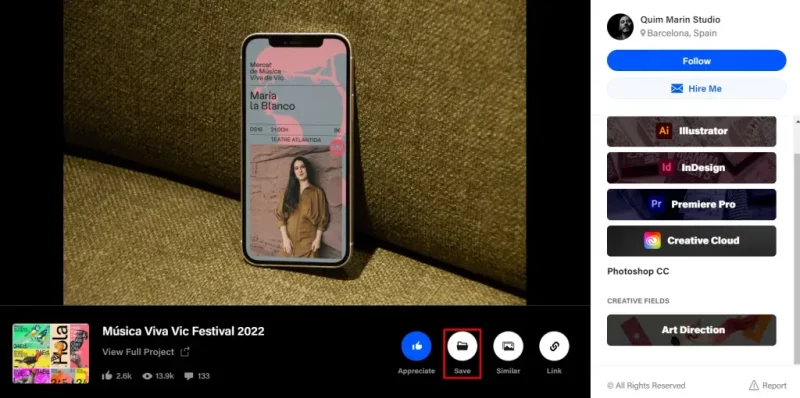
- Step 4 : Next, you need to create a storage folder by clicking on the Create Moodboard item .
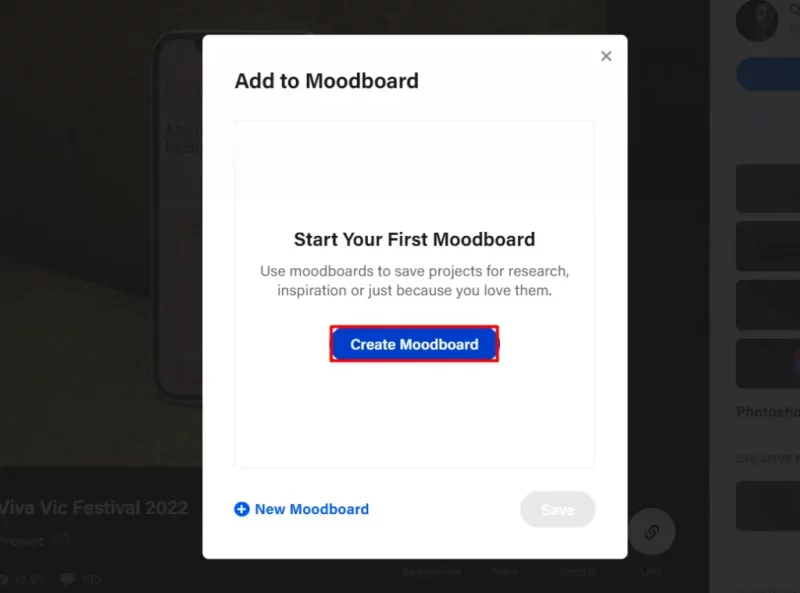
- Step 5 : Click on the Save item on the right of the screen to finish storing the work.
- Step 6 : In addition, in the Live section under the toolbar with the Youtube icon, is a place where you can watch more videos, livestream sharing techniques and experiences of others.
Instructions for texting, chatting and tracking friends
Besides uploading content, Behance also allows you to message, chat and follow friends through simple steps such as:
- Step 1 : After logging in to Behance, select the search bar. Here, you can search for a certain person or field as well as admire other works.
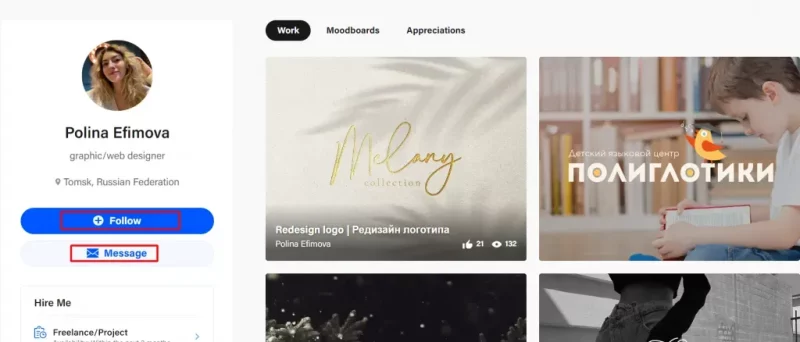
- Step 2 : When you want to see more works of any designer, click on their profile page.
- Step 3 : At this point, you will see on the interface 2 items as follows:
- Follow : When you click here, you have started following that person with their works.
- Message : If you need to exchange information with this person, please click this button.
How to create a professional Behance portfolio
Behance is an online platform that gives users easy access to designers. Therefore, creating a portfolio on Behance has also become more popular.
On the other hand, Behance integrates many essential tools such as fonts (TypeKit), drag and drop editor, the ability to link to social networks, Google Analytics. Therefore, how to create a portfolio on Behance is quite simple that you do not need to worry too much.
Specifically, how to create a professional portfolio on Behance as follows:
- Step 1 : Click on Create A Project to proceed to create a new project according to your own needs.
- Step 2 : Identify your projects by giving them Titles and writing descriptions for them.
- Step 3 : Upload your first image.
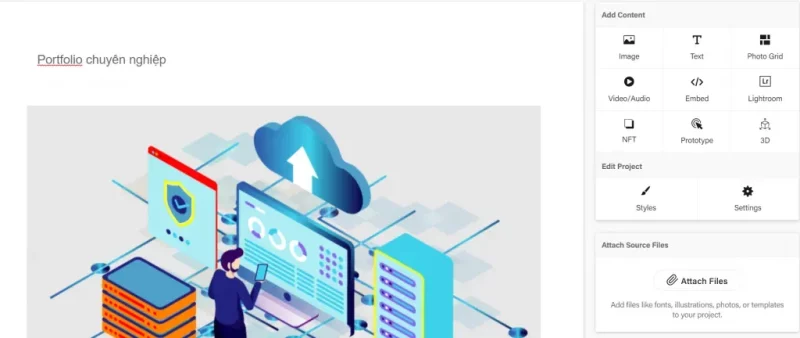
- Step 4 : Combine many tools to be able to present clearly, specifically and in detail about the projects that you have participated in.
- Step 5 : Continue updating your contact information.
- Step 6 : Choose a well-organized avatar so that you can impress others at first sight.
- Step 7 : Install some required information for this project.
- Step 8 : Install the project with short and concise Description lines.
- Step 9 : Finally, you just need to click on Publish to complete and publish your Portfolio.
Epilogue
Thus, Malu Design has just shared with you useful information about what Behance is and how to use the platform. Hopefully this article will help you get the most out of Behance to create creative designs.


